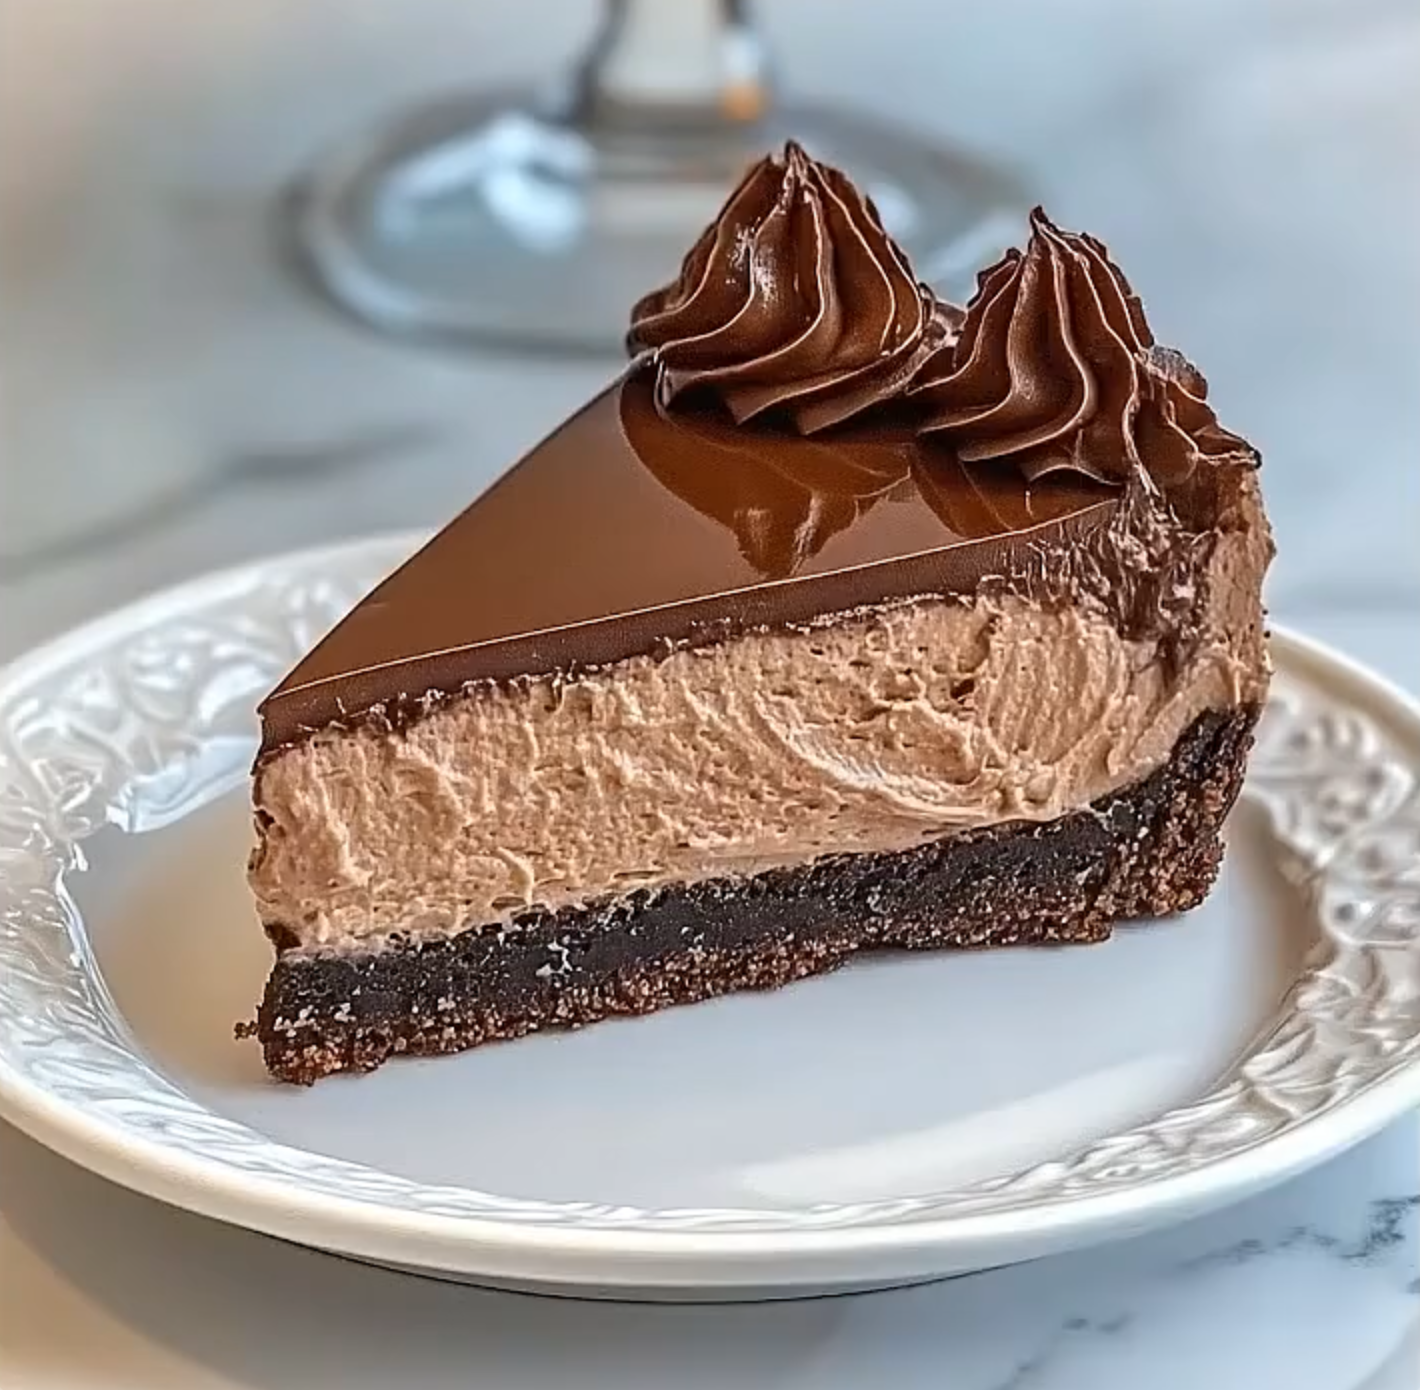
Chocolate mousse cheesecake has become my absolute obsession lately! Therefore, I couldn’t resist sharing this incredible recipe that combines two of my favorite desserts into one absolutely stunning creation. Moreover, this no-bake beauty delivers rich, velvety chocolate flavors that will make your taste buds dance with joy. Additionally, it’s surprisingly easier to make than you might think.
What Is Chocolate Mousse Cheesecake?
Chocolate mousse cheesecake is basically the love child of two incredible desserts. Furthermore, it features a creamy cheesecake base infused with rich chocolate and lightened with whipped cream to create that signature mousse texture. Additionally, this decadent dessert sits on a crunchy Oreo crust and gets topped with a glossy mirror glaze. Consequently, every bite delivers layers of chocolate heaven that melt in your mouth.
Essential Ingredients You’ll Need
Before we dive into making this chocolate mousse cheesecake, let’s talk about what you’ll need. However, don’t worry if you’re missing something because I’ll share some great substitution tips too!
For the Oreo Cookie Crust:
- Oreo cookie crumbs (2 1/2 cups): I use about 25 cookies with filling included. Alternatively, you can substitute with chocolate graham crackers or chocolate wafer cookies.
- Unsalted butter (5 tablespoons, melted): This binds the crust together. Similarly, you can use coconut oil if preferred.
For the Chocolate Mousse Cheesecake Filling:
- Full-fat cream cheese (24 ounces, softened): This creates the creamy base. Meanwhile, make sure it’s completely softened for the smoothest texture.
- Powdered sugar (1 1/4 cups): This sweetens without grittiness. However, you can substitute with regular sugar if needed.
- Dutch-process cocoa powder (1/3 cup): This adds deep chocolate flavor. Nevertheless, regular cocoa powder works too.
- Dark chocolate (8 ounces, 70%): Melted and cooled for richness. Additionally, you can use semi-sweet chocolate if you prefer less intensity.
- Vanilla extract (2 teaspoons): Pure vanilla is best for flavor.
- Heavy whipping cream (2 cups, cold and divided): This creates the mousse-like texture that makes this chocolate mousse cheesecake special.
For the Chocolate Mirror Glaze:
- Dark chocolate (4 ounces, finely chopped): Creates the glossy top layer.
- Heavy cream (1/2 cup): Makes the glaze smooth and pourable.
- Butter (1 tablespoon): Adds shine to the mirror glaze.
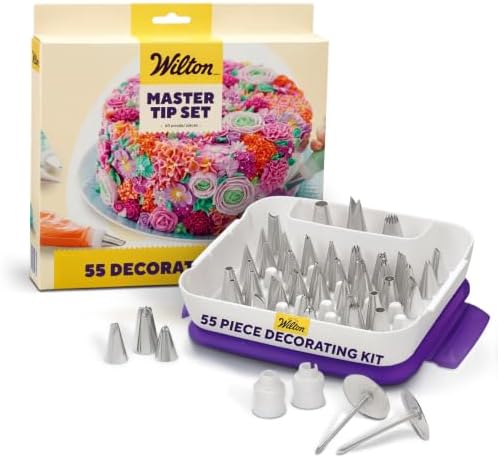
- Starter Piping Set: The Master Cake Decorating Piping Tips set comes with an assortment of round, star, petal, leaf, and…
- Complete Decorating Set: The Master Cake Decorating Piping Tips Set is for DIY cake, cupcake, and cookie decorating
- Cake Art Tools: This classic cupcake decorating kit comes with stainless steel tips that work with both buttercream fros…
Step-by-Step Instructions
Now let’s get into the fun part of making this chocolate mousse cheesecake! Therefore, I’ll walk you through each step to ensure perfect results every time.
Prepare the Oreo Crust: First, combine the Oreo crumbs with melted butter in a bowl. Next, press this mixture firmly into the base of a 9-inch springform pan. Then, freeze for 15 minutes while you prepare the filling. Consequently, this helps the crust set properly and prevents it from mixing with the filling.
Make the Cream Cheese Base: Meanwhile, beat the softened cream cheese until completely smooth and lump-free. Subsequently, add powdered sugar and cocoa powder, beating until the mixture is uniform. After that, beat in the melted chocolate and vanilla extract until well combined. Therefore, you’ll have a rich chocolate base for your chocolate mousse cheesecake.
Create the Mousse Texture: Next, whip 1 1/2 cups of cold heavy cream in a chilled bowl until stiff peaks form. Then, gently fold this whipped cream into the chocolate cream cheese mixture in three separate additions. Furthermore, fold carefully until no white streaks remain, but don’t overmix or you’ll deflate the mousse.
Assemble and Chill: Pour the chocolate mousse cheesecake filling over the prepared crust and smooth the top with an offset spatula. Cover tightly and refrigerate for at least 8 hours or overnight. Additionally, this long chilling time is crucial for the perfect texture.
Prepare the Ganache Rosettes: While the cheesecake chills, whip the remaining 1/2 cup cream. Then, fold it into slightly cooled ganache until fluffy. Load this mixture into a piping bag fitted with a star tip for later decoration.
Make the Mirror Glaze: Heat cream until just simmering, then pour over finely chopped chocolate. Let it sit for 1 minute, then add butter and stir until silky smooth. Cool the glaze to about 95°F before pouring over the chilled chocolate mousse cheesecake. Spread quickly and return to the fridge for 20 minutes to set.
Final Decoration: Finally, pipe whipped ganache rosettes around the top edge before serving your beautiful chocolate mousse cheesecake.
Perfect Pairing Ideas
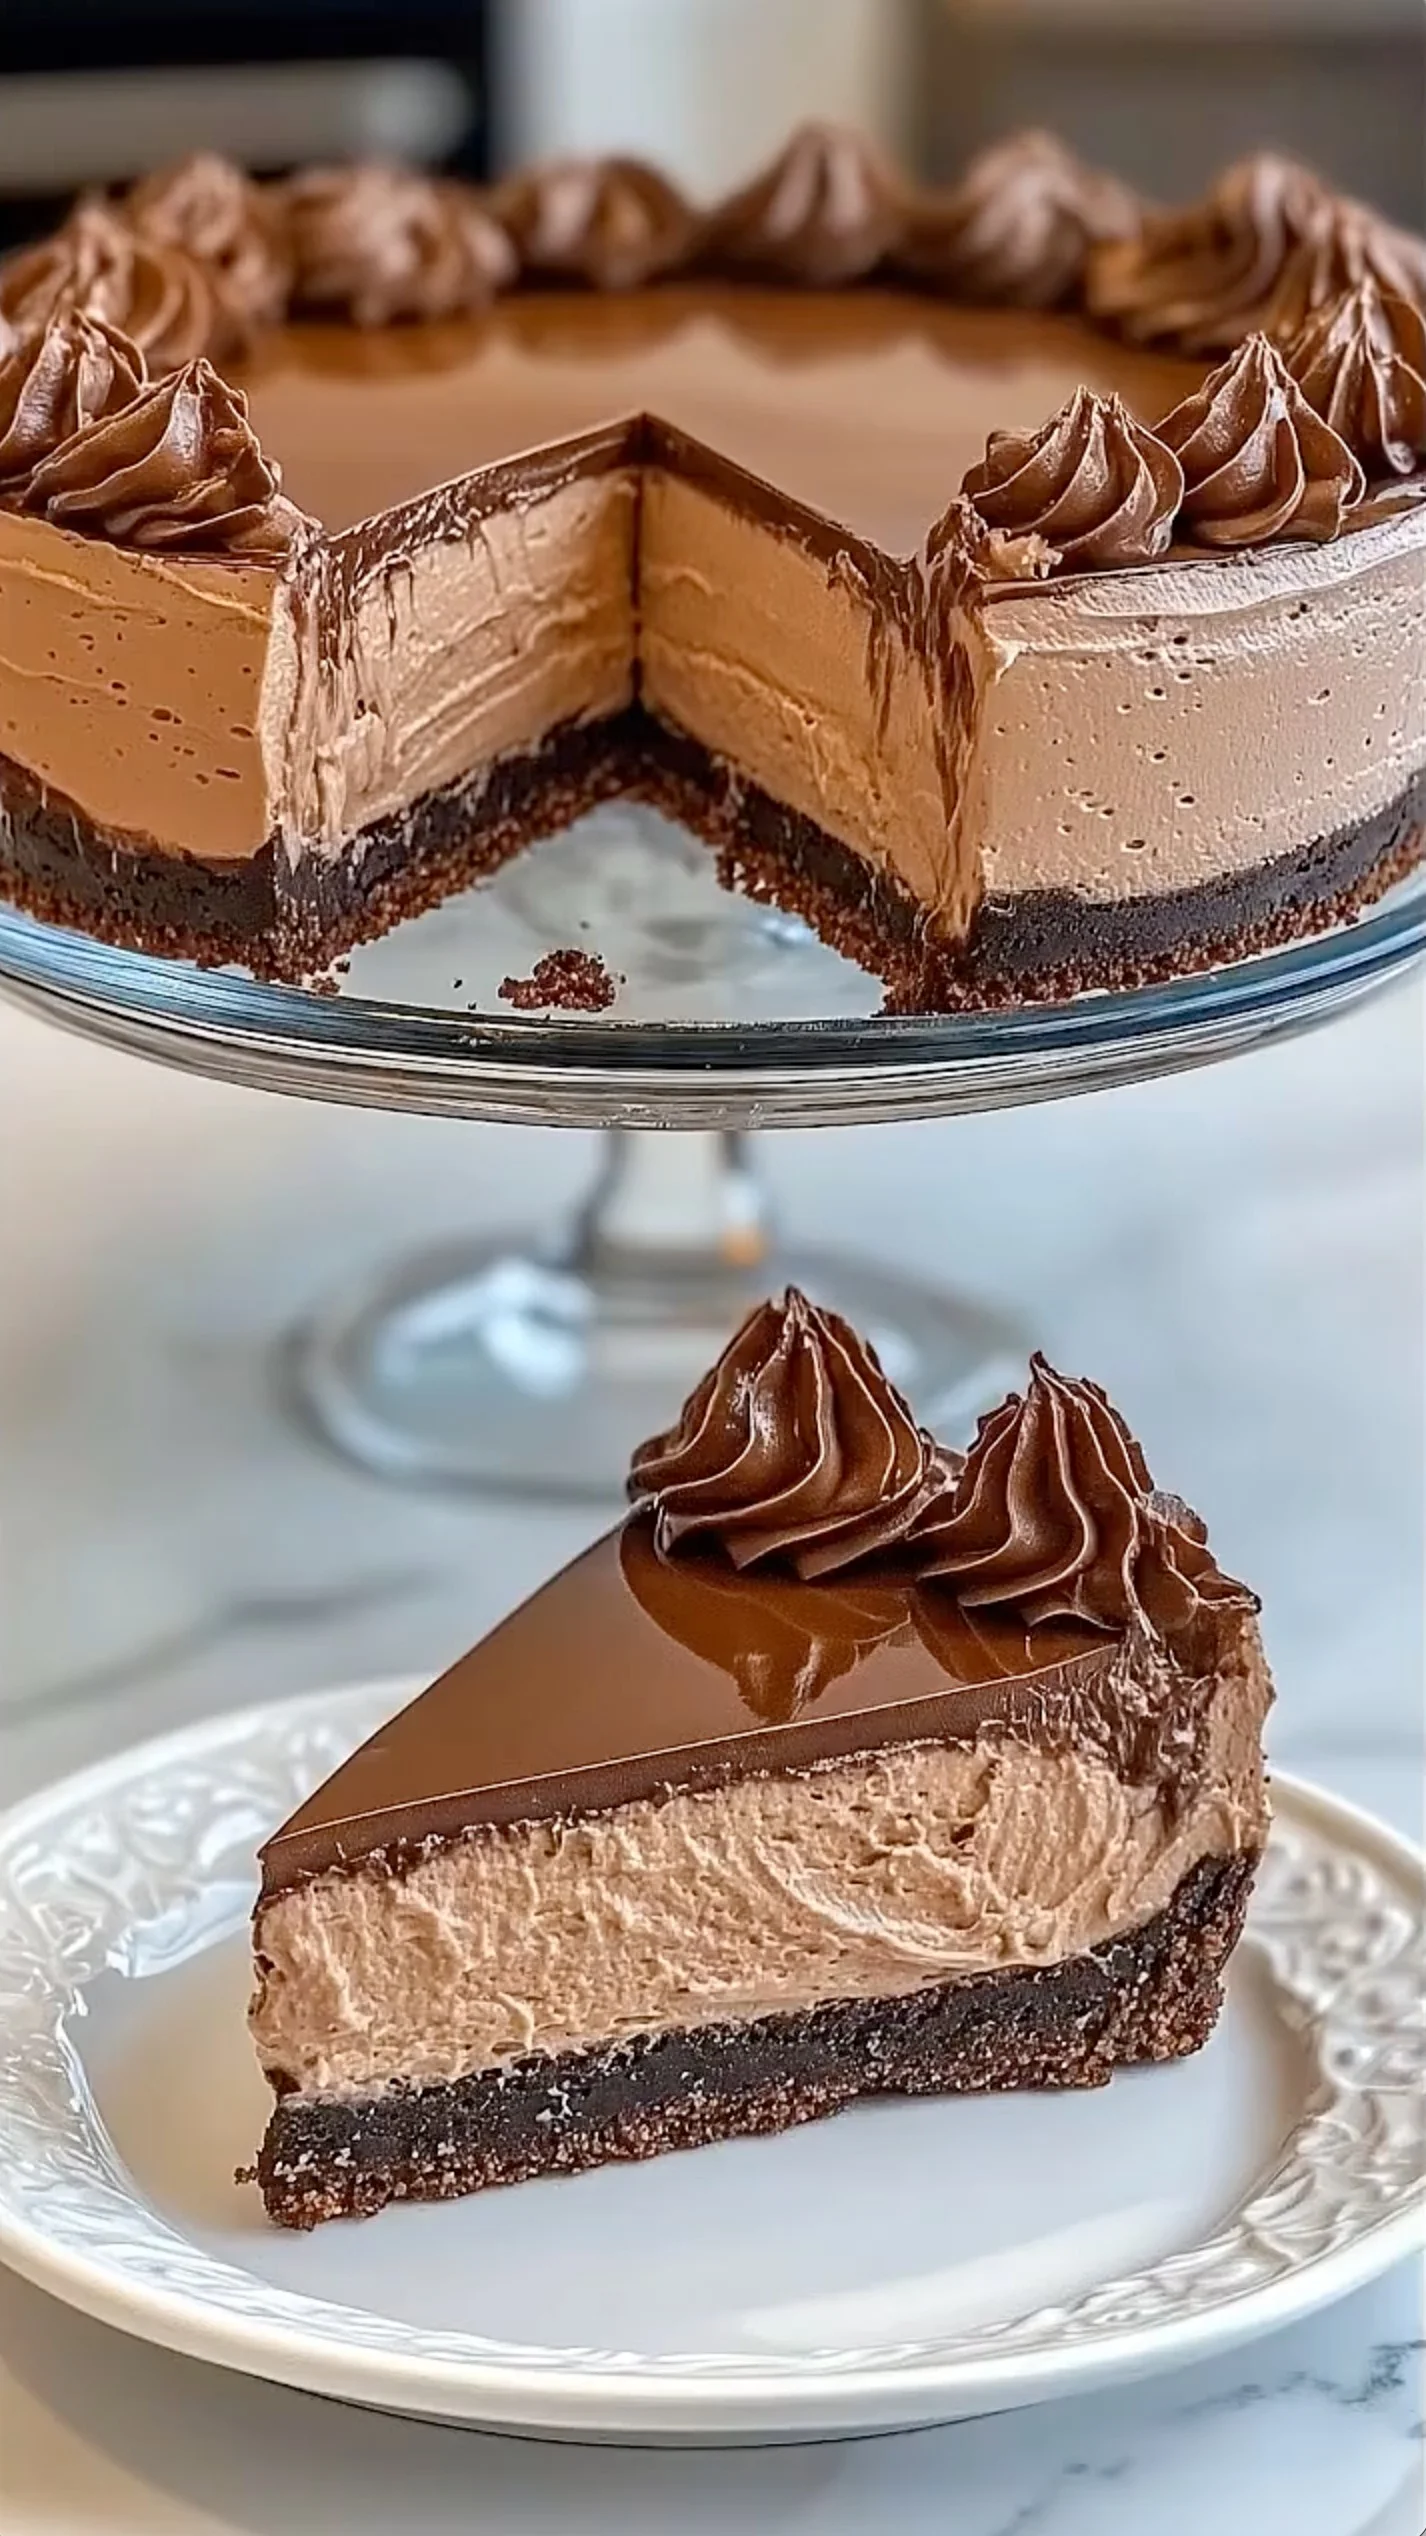
This chocolate mousse cheesecake is absolutely divine on its own, but there are some amazing ways to serve it! Therefore, I love pairing it with fresh raspberries or strawberries for a pop of color and tartness. Additionally, a dollop of vanilla whipped cream balances the rich chocolate perfectly. Furthermore, serve with a glass of red wine or espresso for an elegant finish.
Pro Tips For Perfect Results
- Temperature matters: Make sure your cream cheese is completely softened before starting. However, don’t microwave it as this can create lumps in your chocolate mousse cheesecake.
- Chill your bowl: Use a chilled bowl and beaters when whipping cream. Consequently, this helps achieve perfect peaks faster and more reliably.
- Fold gently: When incorporating whipped cream, fold with a rubber spatula using a cutting and folding motion. Therefore, you’ll maintain that light, airy texture.
- Cool the chocolate: Let melted chocolate cool slightly before adding to prevent melting the cream cheese mixture and creating a grainy texture.
- Mirror glaze temperature: The glaze should be around 95°F for the perfect consistency. Additionally, too hot will melt the cheesecake, while too cool won’t spread smoothly.
- Clean cuts: Run a knife under warm water and wipe clean between each slice for professional-looking pieces of chocolate mousse cheesecake.
Frequently Asked Questions
Can I make chocolate mousse cheesecake ahead of time?
Absolutely! In fact, this chocolate mousse cheesecake actually tastes better after sitting overnight. Therefore, you can make it up to 3 days in advance. However, add the mirror glaze and ganache rosettes the day you plan to serve for the best appearance.
How long does chocolate mousse cheesecake last in the fridge?
Your chocolate mousse cheesecake will stay fresh for up to 5 days when stored properly in the refrigerator. Furthermore, cover it tightly with plastic wrap or store in an airtight container to prevent it from absorbing other flavors.
Can I freeze this dessert?
Yes, you can freeze chocolate mousse cheesecake for up to 3 months! However, I recommend freezing it before adding the mirror glaze and decorations. Additionally, thaw overnight in the refrigerator before serving for the best texture.
What if my mirror glaze doesn’t look smooth?
If your glaze appears lumpy or streaky, it’s likely too cool or wasn’t mixed properly. Therefore, gently reheat and stir until smooth, then let it cool to the right temperature before trying again. Alternatively, you can skip the glaze and dust with cocoa powder for a simpler finish.
Why This Recipe Will Win Your Heart
This chocolate mousse cheesecake combines everything I love about dessert in one spectacular creation! Moreover, it’s rich enough to satisfy serious chocolate cravings but light enough that you won’t feel overly full. Additionally, the no-bake method means you can make it even when it’s too hot to turn on the oven. Furthermore, it looks absolutely stunning and always impresses guests at dinner parties!
My Recipe Development Journey
I’ll be honest, my first attempt at chocolate mousse cheesecake was a complete disaster! Therefore, I learned the hard way that you can’t rush the chilling process. Additionally, my second try had a grainy texture because I added the chocolate too hot. However, after several trials and plenty of taste testing, I finally perfected this recipe. Now it’s become my go-to dessert for special occasions!