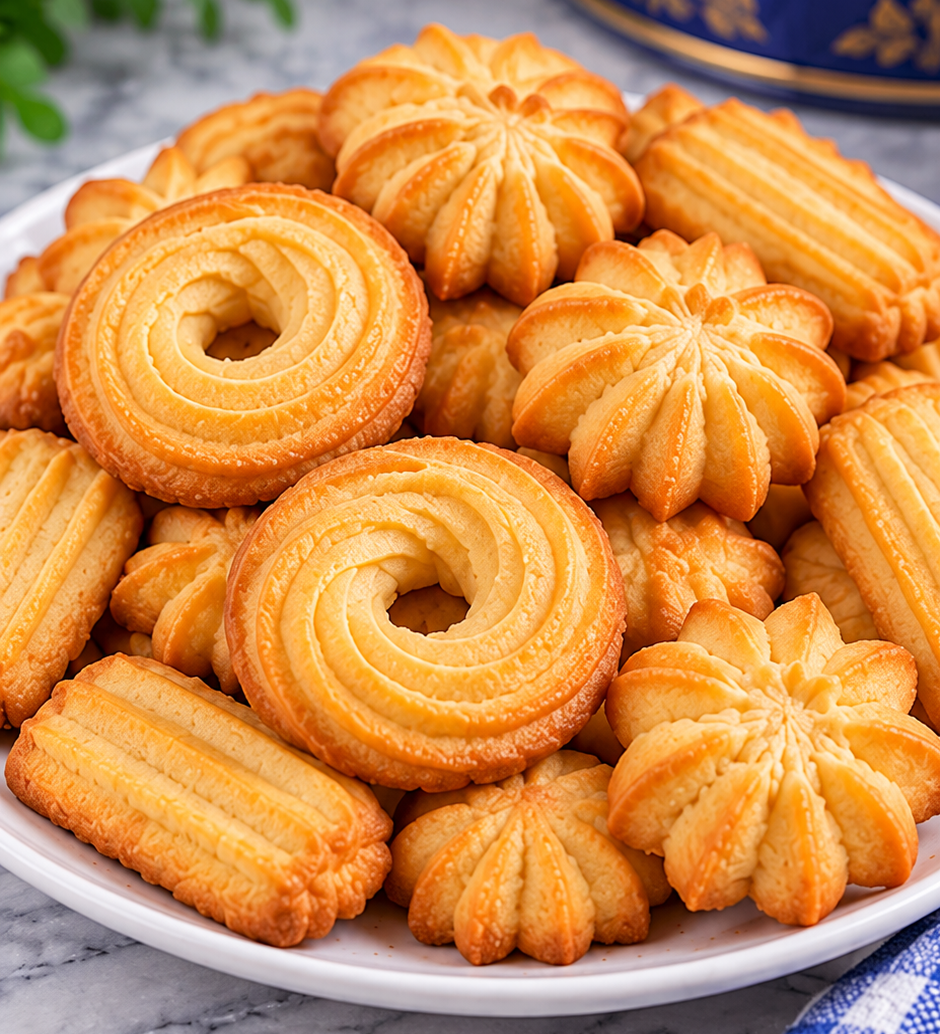
Danish Butter Cookies have been my absolute obsession lately, and honestly, once you taste these buttery, crisp delights, you’ll understand why they’re treasured worldwide. I remember opening my first tin of these golden beauties as a kid and being amazed by their perfect ridges and delicate crunch. Now, making them at home has become one of my favorite weekend baking projects because they’re surprisingly simple yet incredibly rewarding.
What Are Danish Butter Cookies?
These traditional European treats are basically butter cookie perfection in bite-sized form. Furthermore, they’re known for their distinctive piped shapes like rings, rosettes, and fingers that create those gorgeous ridged patterns. Additionally, what makes Danish butter cookies so special is their rich, buttery flavor combined with a crisp texture that simply melts in your mouth. Meanwhile, they’re often found in those iconic blue tins during holidays, but trust me, homemade versions taste infinitely better.
What You’ll Need for Danish Butter Cookies
The beauty of these butter cookies lies in their simplicity. Therefore, you probably already have most ingredients sitting in your pantry right now. Here’s everything you’ll need to create these delightful treats:
- Unsalted butter (1 cup/225g) – Use room temperature butter that’s soft but not melted. European-style butter works wonderfully for extra richness, or substitute with high-quality salted butter if needed
- Powdered sugar (¾ cup/90g) – Always sift this to avoid lumps in your dough. Confectioner’s sugar or icing sugar work perfectly as alternatives
- Large egg yolk (1) – This adds richness and helps bind everything together. Save the white for meringues or scrambled eggs
- Vanilla extract (2 teaspoons) – Pure vanilla is best, though vanilla paste or almond extract can create interesting flavor variations
- All-purpose flour (2 cups/240g) – Regular flour works perfectly, but you can substitute with cake flour for extra tenderness
- Salt (¼ teaspoon) – This balances the sweetness beautifully. Sea salt or kosher salt both work fine
- Milk (1-2 tablespoons) – Whole milk is ideal, but heavy cream or even buttermilk can add extra richness to your Danish butter cookies
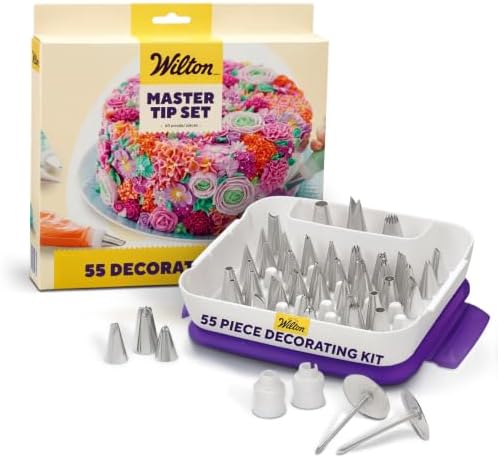
- Starter Piping Set: The Master Cake Decorating Piping Tips set comes with an assortment of round, star, petal, leaf, and…
- Complete Decorating Set: The Master Cake Decorating Piping Tips Set is for DIY cake, cupcake, and cookie decorating
- Cake Art Tools: This classic cupcake decorating kit comes with stainless steel tips that work with both buttercream fros…
Step-by-Step Instructions for Perfect Danish Butter Cookies
Making these cookies is surprisingly straightforward once you get the hang of piping. However, there are a few key techniques that’ll make your Danish butter cookies turn out absolutely perfect every time.
Prepare Your Workspace
First, line two baking sheets with parchment paper because this prevents sticking completely. Then, fit a sturdy piping bag with a large open-star tip that’s about ½ inch wide. Meanwhile, bring your butter, egg yolk, and milk to room temperature since cold ingredients won’t cream properly.
Cream Butter and Sugar
Next, beat the softened butter and sifted powdered sugar for about 2 minutes until the mixture becomes smooth and creamy. Consequently, this step is crucial for achieving the right texture in your butter cookies. Afterward, scrape down the bowl sides, then beat in the egg yolk and vanilla extract until well combined.
Mix the Cookie Dough
Subsequently, add the flour and salt to your creamy mixture. Mix on low speed just until everything comes together because overmixing creates tough cookies. Then, stir in 1 tablespoon of milk gradually. If the dough feels too stiff for piping, add the remaining milk one teaspoon at a time until it pipes smoothly while holding distinct ridges.
Pipe and Chill Your Cookies
Now comes the fun part! Pipe 2-inch rings, 1½-inch rosettes, and 2½-inch fingers onto your prepared trays, leaving 2 inches between each cookie. Moreover, keep their thickness similar and group matching shapes together since they’ll bake more evenly. Refrigerate for 30 minutes while preheating your oven to 350°F (175°C) on conventional setting.
Bake to Golden Perfection
Bake one tray at a time on the middle rack for 12-16 minutes until the edges and bases turn lightly golden. Additionally, check smaller cookies sooner since they bake faster. Leave them on the tray for 5 minutes to firm up, then carefully transfer to a wire rack for complete cooling.
Serve and Store
Finally, arrange your beautiful Danish butter cookies on a white plate, mixing rings, rosettes, and fingers for visual appeal. Once completely cool, store them in an airtight container for up to one week, though honestly, they rarely last that long in my house!
Perfect Pairings and Serving Ideas
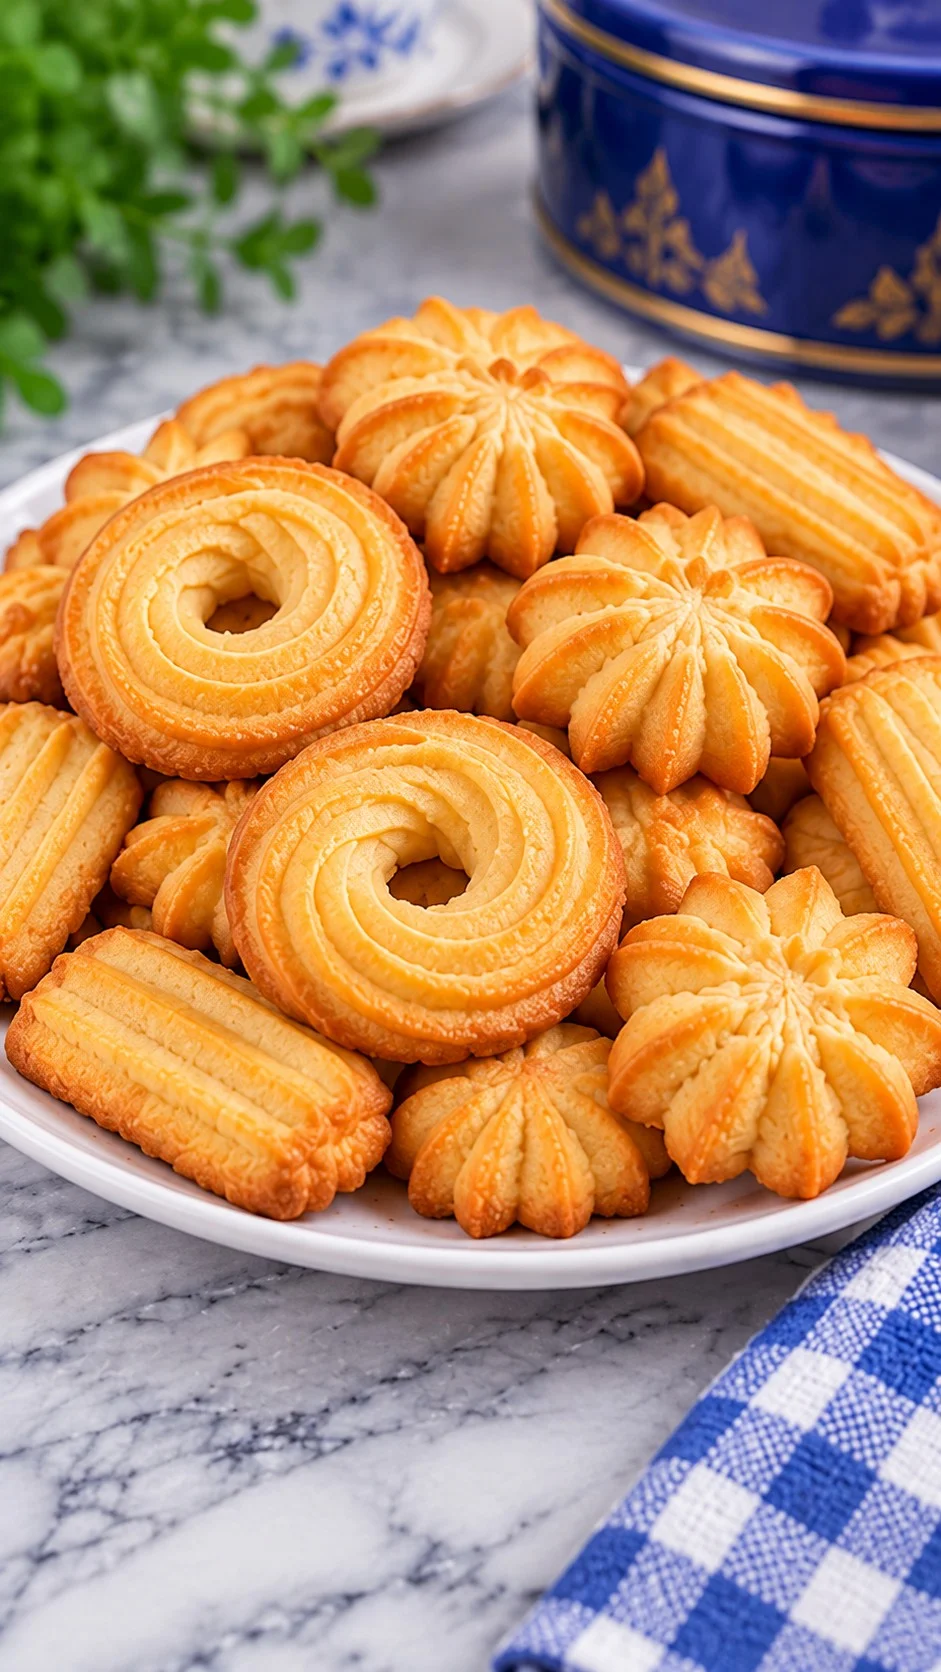
These butter cookies are incredibly versatile for serving occasions. Therefore, I love pairing them with hot tea or coffee for afternoon treats, while they also make elegant additions to dessert platters. Furthermore, try serving them alongside fresh berries and whipped cream for a simple yet sophisticated dessert. Additionally, they’re perfect for gift-giving when arranged in decorative tins or boxes.
Pro Tips for Cookie Success
- Temperature matters – Keep your dough cool but pipeable since warm dough spreads too much during baking
- Consistent piping – Apply steady pressure and move at an even pace for uniform Danish butter cookies
- Don’t overbake – Watch for light golden edges rather than deep browning since they continue cooking on hot pans
- Quality ingredients – Use good butter and pure vanilla because their flavors really shine in these simple cookies
- Proper storage – Store completely cooled cookies in airtight containers to maintain their crisp texture
- Piping bag alternatives – Use a large zip-top bag with the corner cut off if you don’t have piping bags
Common Questions About Danish Butter Cookies
Can I make the dough ahead of time?
Absolutely! You can prepare the cookie dough up to 2 days in advance and store it covered in the refrigerator. However, let it sit at room temperature for about 15 minutes before piping since cold dough becomes too stiff to work with easily.
Why are my Danish butter cookies spreading too much?
This usually happens when the dough is too warm or contains too much liquid. Therefore, make sure to chill your piped cookies for the full 30 minutes before baking. Additionally, check that your butter wasn’t too soft when mixing the dough initially.
Can I freeze these butter cookies?
Yes, both the dough and baked cookies freeze beautifully! Freeze unbaked piped cookies on trays, then transfer to freezer bags for up to 3 months. Meanwhile, baked cookies can be frozen in airtight containers for up to 6 months and taste fresh after thawing.
What if I don’t have a star piping tip?
While the star tip creates those classic ridges, you can still make delicious Danish butter cookies using a round tip or even dropping spoonfuls of dough. Consequently, they won’t have the traditional appearance, but they’ll taste just as amazing.
Why These Cookies Will Steal Your Heart
These Danish butter cookies combine simplicity with elegance in the most delightful way. Moreover, they’re perfect for beginners since the technique is forgiving, yet impressive enough for special occasions. Furthermore, the rich butter flavor and satisfying crunch make them irresistibly addictive. Additionally, there’s something deeply satisfying about creating those beautiful piped shapes that look professionally made but come straight from your own kitchen.
My Cookie Journey and Lessons Learned
I’ll be honest, my first batch of Danish butter cookies was a complete disaster! The dough was way too soft, and they spread into unrecognizable blobs. However, after several attempts and temperature adjustments, I finally cracked the code. Now, I’ve learned that patience during the chilling process and using room temperature ingredients makes all the difference. Consequently, these cookies have become my go-to recipe for impressing friends and satisfying my own sweet tooth cravings.