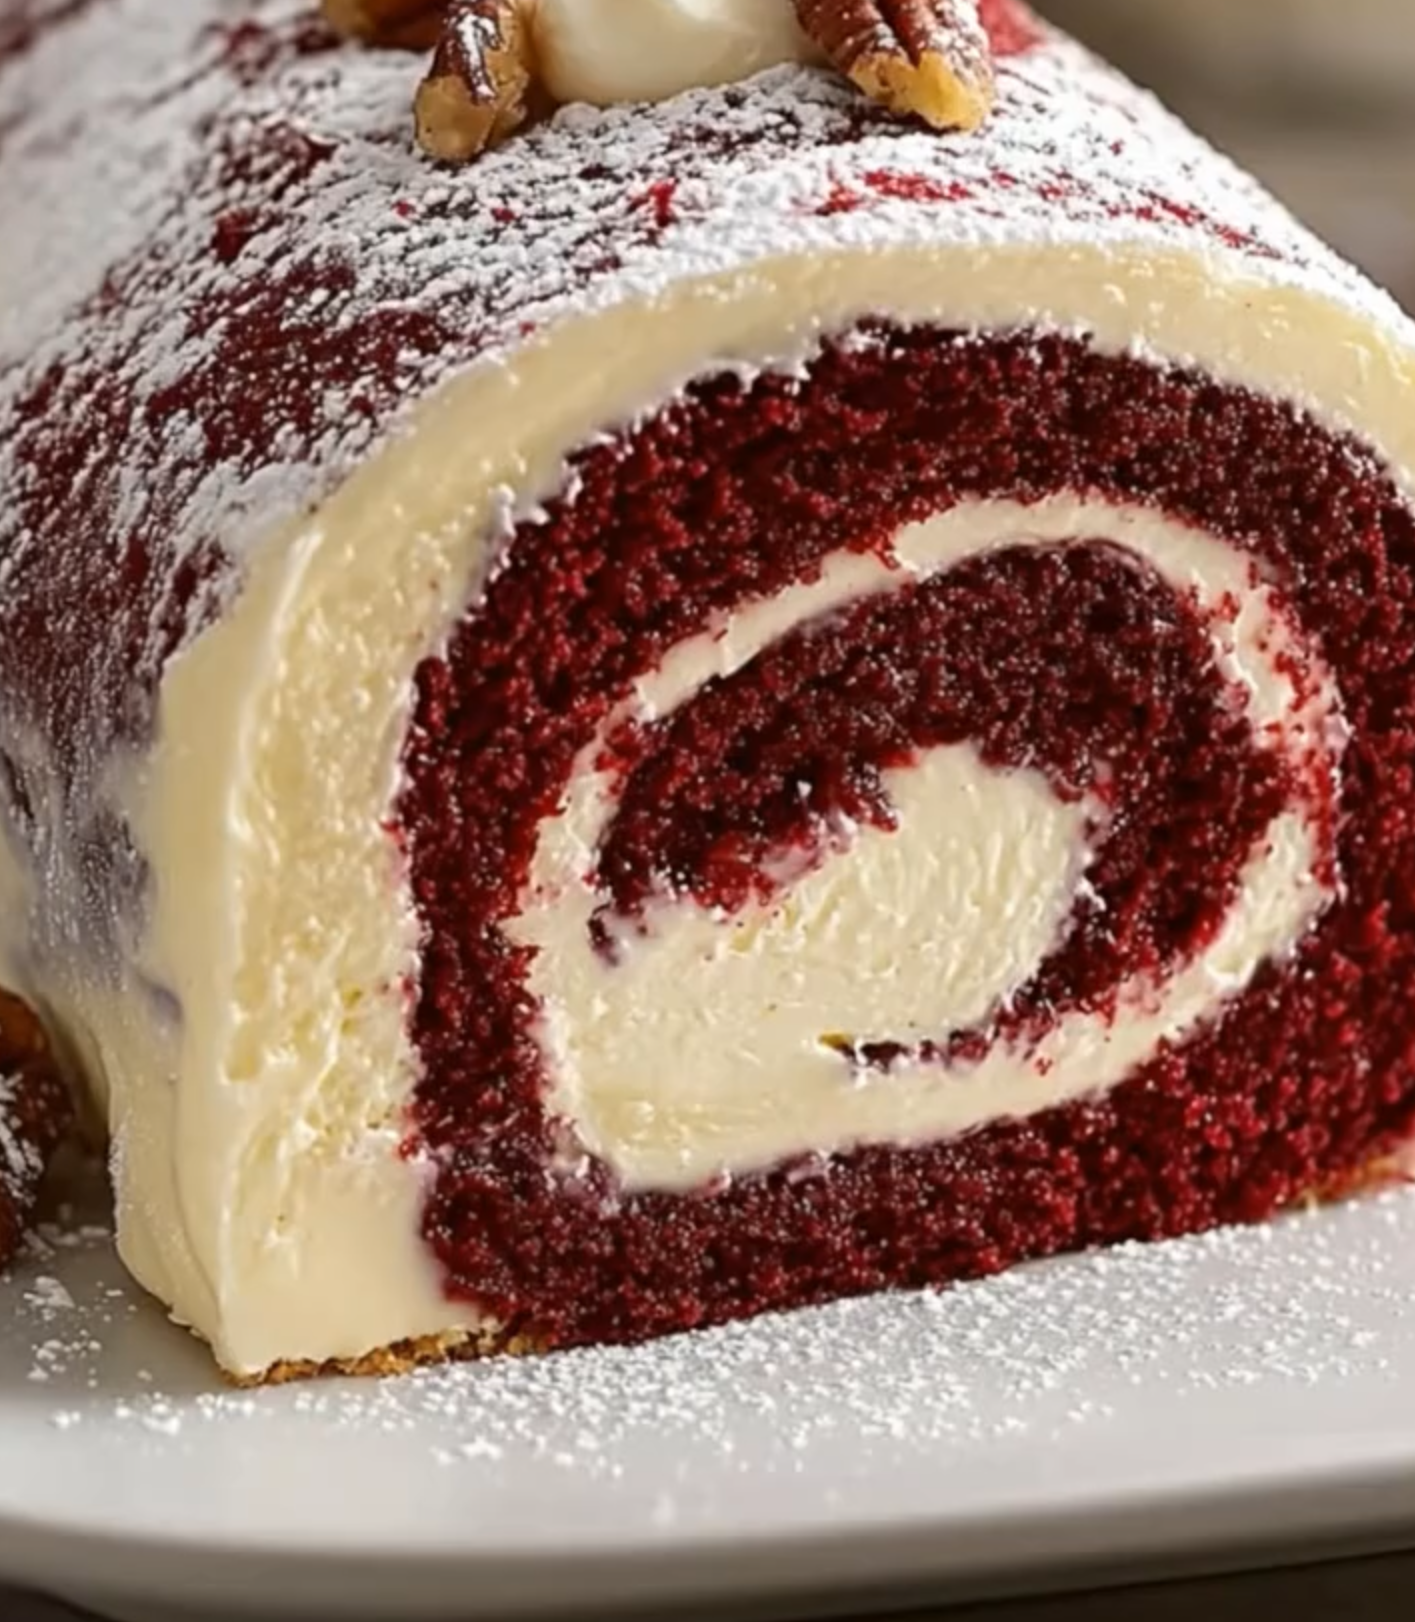
My Red Velvet Cheesecake Roll adventure started completely by accident when I was trying to impress my sister’s book club, and honestly, it turned into one of my favorite dessert discoveries ever! Picture the most stunning red swirl cake filled with dreamy cheesecake cream that’s somehow both elegant and totally approachable to make at home.
What Is Red Velvet Cheesecake Roll?
This gorgeous dessert combines two beloved classics into one show-stopping treat. Basically, it’s a tender red velvet sponge cake rolled around a luscious cheesecake filling. The result is a beautiful spiral that looks like something from a fancy bakery window, but surprisingly, it’s totally doable in your own kitchen.
What You Will Need
Don’t worry, most of these ingredients are probably sitting in your pantry right now! I love how this Red Velvet Cheesecake Roll uses simple, everyday items to create something absolutely magical.
For the Red Velvet Cake:
- 4 eggs – Room temperature works best for maximum fluffiness
- 3/4 cup granulated sugar – Regular white sugar is perfect here
- 1/4 cup vegetable oil – You can substitute with melted butter if preferred
- 1/4 cup buttermilk – Regular milk with a splash of lemon juice works as a substitute
- 1 teaspoon vanilla extract – Pure vanilla makes a difference in flavor
- 1 tablespoon red food coloring – Gel coloring gives more vibrant results than liquid
- 1 cup all-purpose flour – Make sure to measure accurately for best texture
- 2 tablespoons cocoa powder – Unsweetened cocoa adds that classic red velvet hint
- 1 teaspoon baking powder – Fresh baking powder ensures proper rise
- Pinch of salt – Just a tiny bit to balance the sweetness
For the Cheesecake Filling:
- 12 ounces cream cheese – Must be completely softened for smooth mixing
- 1/2 cup powdered sugar – Creates silky texture without grittiness
- 1 cup heavy cream – Cold cream whips better than room temperature
- 1 teaspoon vanilla extract – Complements the cheesecake flavor beautifully
Optional Finishing Touches:
- Chopped pecans – Adds wonderful crunch and nutty flavor
- Powdered sugar – For dusting and that professional bakery look
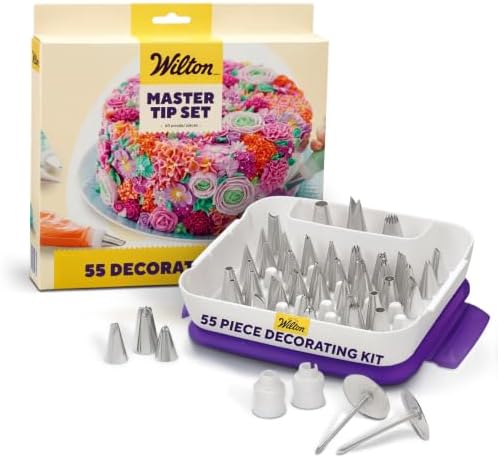
- Starter Piping Set: The Master Cake Decorating Piping Tips set comes with an assortment of round, star, petal, leaf, and…
- Complete Decorating Set: The Master Cake Decorating Piping Tips Set is for DIY cake, cupcake, and cookie decorating
- Cake Art Tools: This classic cupcake decorating kit comes with stainless steel tips that work with both buttercream fros…
Step-by-Step Instructions
Making this Red Velvet Cheesecake Roll is actually way easier than it looks! I remember being intimidated the first time, but once you get the hang of it, you’ll be amazed at how straightforward the process really is.
Preparing Your Pan and Oven: First things first, preheat your oven to 375°F and line a 15×10 inch jelly roll pan with parchment paper. Additionally, grease the parchment lightly to prevent any sticking disasters.
Making the Red Velvet Batter: In a large bowl, whip those eggs and sugar together until the mixture becomes thick and pale yellow. This usually takes about 3-4 minutes with an electric mixer. Then, slowly stream in the oil, buttermilk, vanilla, and that gorgeous red food coloring while continuing to mix.
Combining Dry Ingredients: In a separate bowl, whisk together the flour, cocoa powder, baking powder, and salt. Gently fold these dry ingredients into your wet mixture, being careful not to overmix. The batter should be smooth but still light and airy.
Baking the Cake: Spread the batter evenly across your prepared pan, making sure it reaches all corners. Bake for 10-12 minutes until the cake springs back when lightly touched. Don’t overbake or it will crack when you roll it!
The Rolling Trick: Here’s the secret that makes rolling so much easier. While the cake is still warm, carefully turn it out onto a clean kitchen towel dusted with powdered sugar. Remove the parchment paper, then roll the cake up in the towel starting from the short end. Let it cool completely in this rolled position.
Creating the Cheesecake Filling: Beat the softened cream cheese and powdered sugar until completely smooth and fluffy. In another bowl, whip the heavy cream and vanilla until soft peaks form. Gently fold the whipped cream into the cream cheese mixture until just combined.
Assembly Time: Carefully unroll the cooled cake and remove the towel. Spread the cheesecake filling evenly over the surface, leaving about a half-inch border around the edges. Roll the cake back up, this time without the towel, creating that beautiful spiral pattern.
Final Touches: Wrap your Red Velvet Cheesecake Roll in plastic wrap and refrigerate for at least 2 hours before serving. Before slicing, dust with powdered sugar and sprinkle with chopped pecans if desired.
Creative Ways to Serve
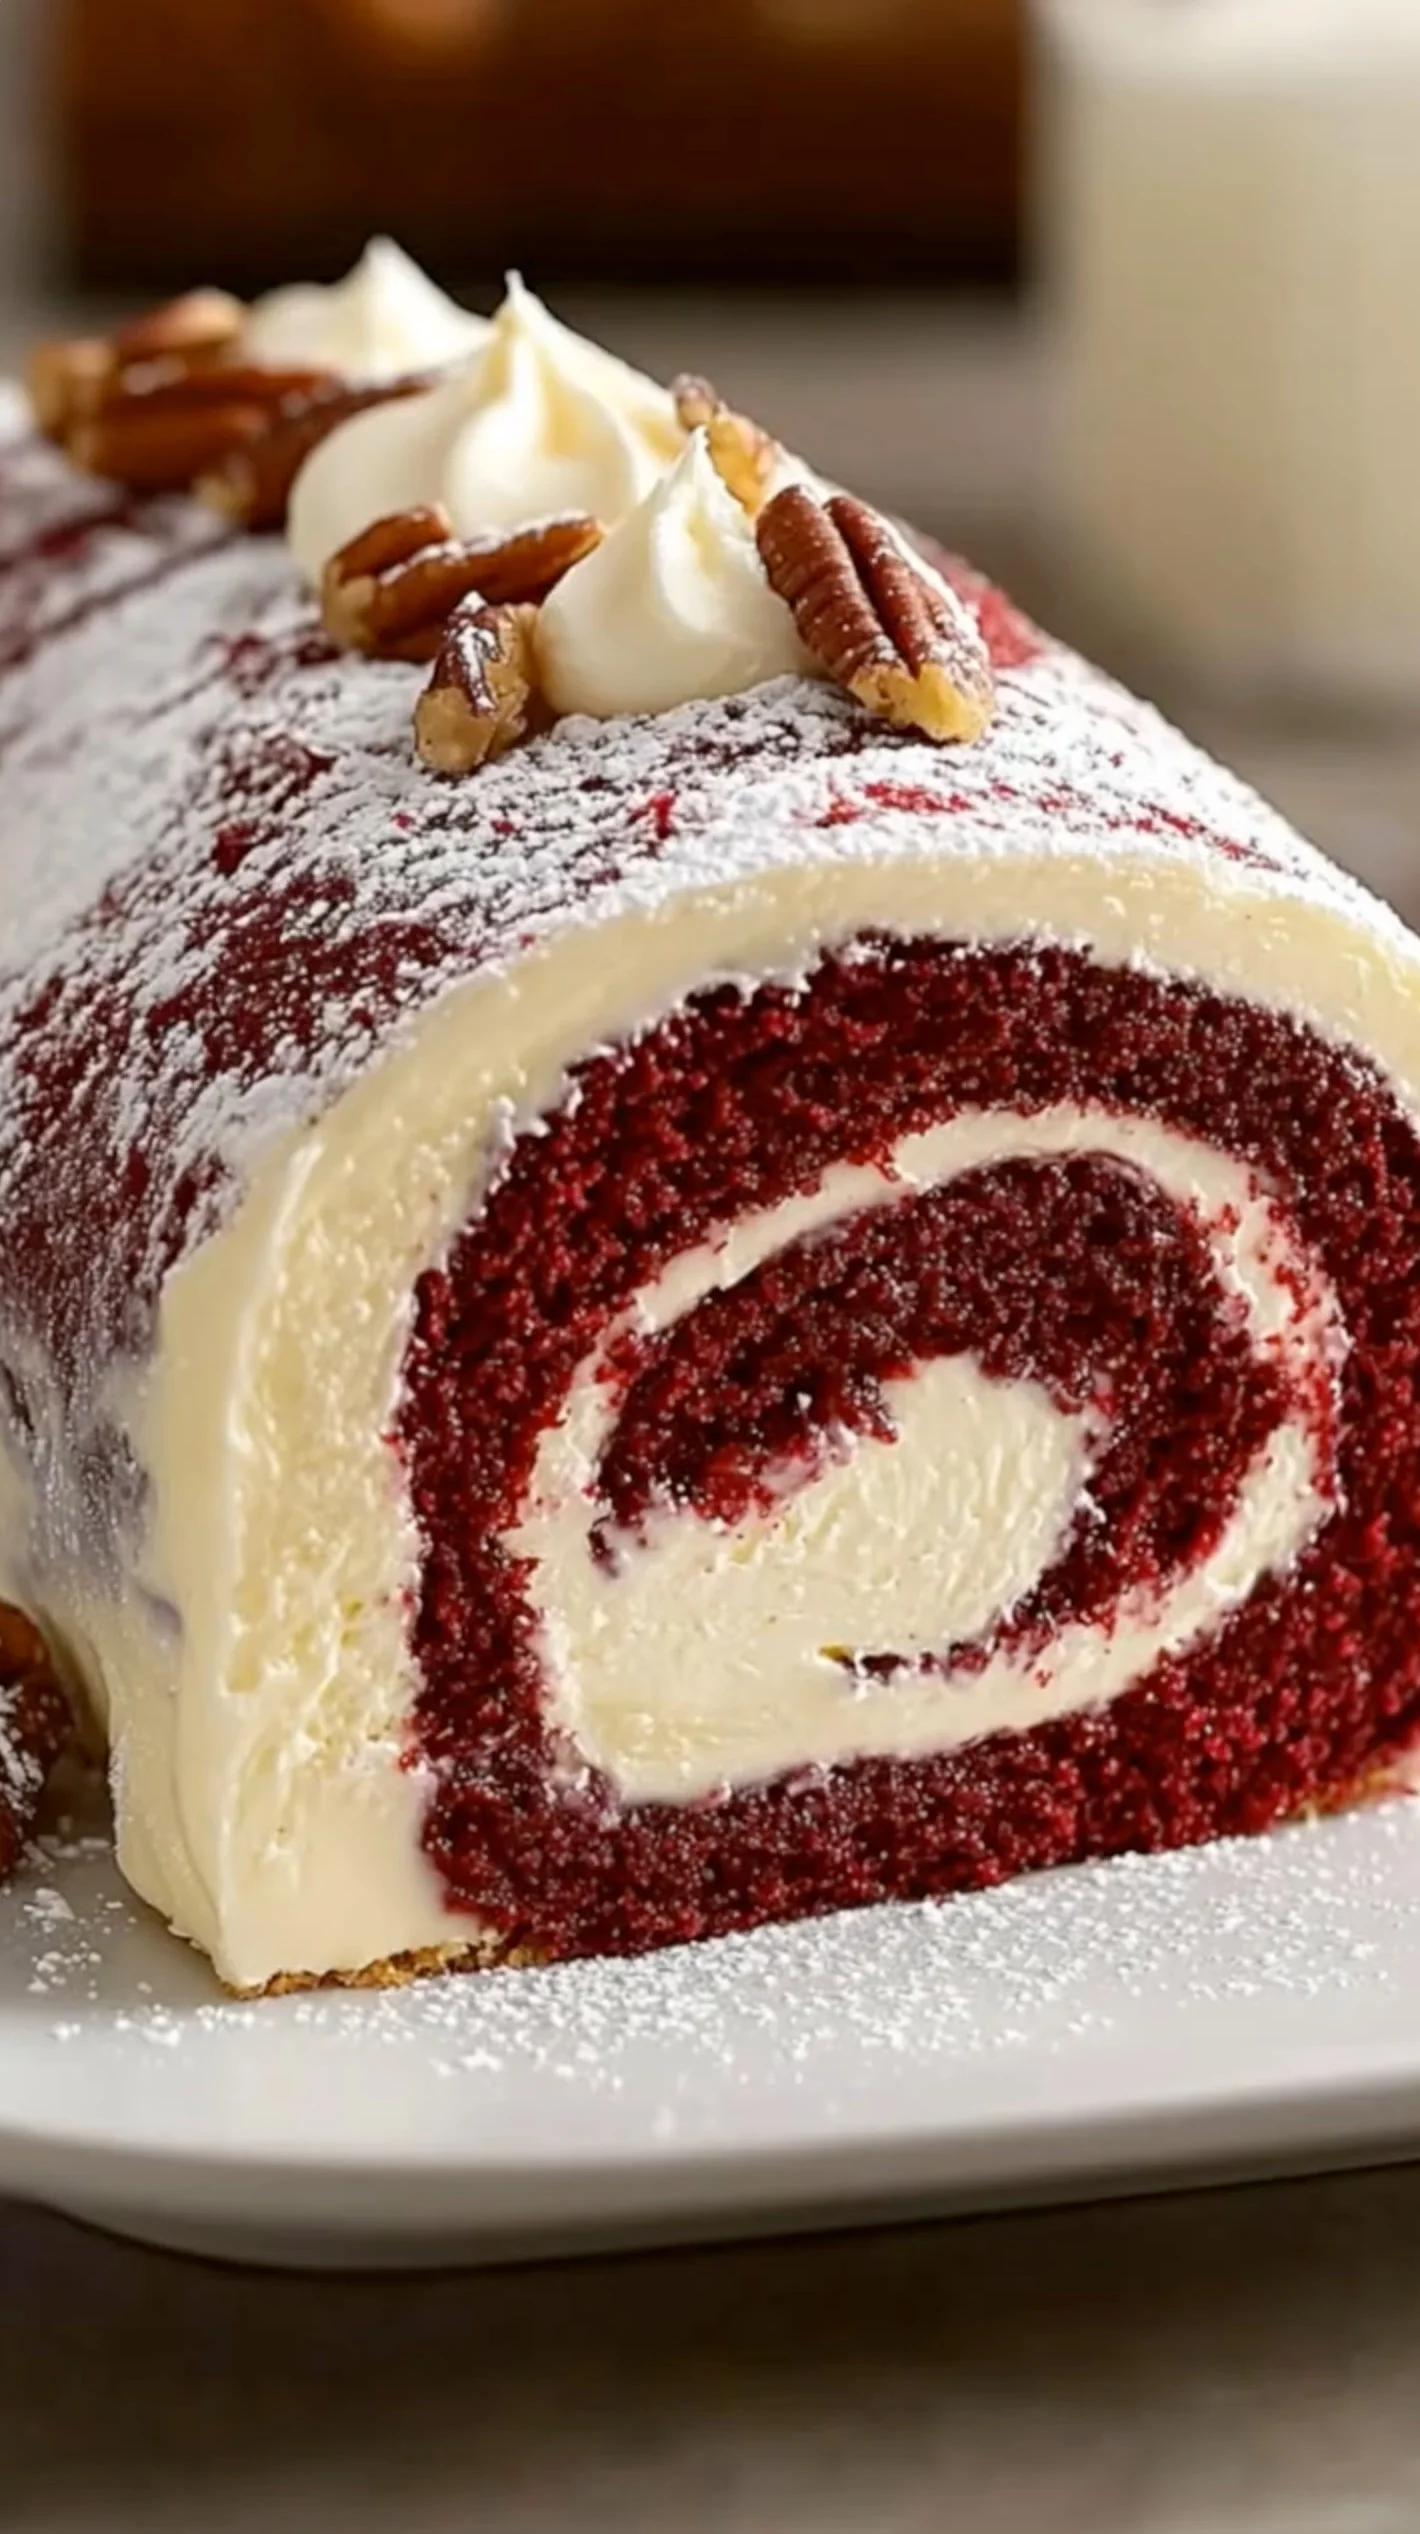
This Red Velvet Cheesecake Roll is absolutely stunning on its own, but there are so many fun ways to dress it up! I love serving it on a white platter with fresh berries scattered around for color contrast. A drizzle of chocolate sauce or a dollop of whipped cream makes each slice feel extra special and indulgent.
Tips For The Perfect Red Velvet Cheesecake Roll
- Room temperature ingredients: Make sure your eggs and cream cheese are at room temperature for the smoothest mixing and best texture
- Don’t skip the rolling step: Rolling the cake while warm prevents cracking later and creates that perfect spiral shape
- Gentle folding technique: When combining ingredients, use a light hand to maintain the cake’s airy texture
- Sharp knife for slicing: Use a clean, sharp knife and wipe it between cuts for the prettiest slices
- Chill time matters: Let the assembled roll chill for at least 2 hours so the filling sets properly
- Parchment paper is your friend: Line your pan well to prevent sticking and make removal much easier
- Watch the baking time: Overbaked cake will crack when rolled, so keep a close eye during those final minutes
Frequently Asked Questions
Can I make this Red Velvet Cheesecake Roll ahead of time? Absolutely! In fact, this dessert actually improves after sitting overnight in the refrigerator. The flavors meld together beautifully, and the texture becomes even more perfect. You can make it up to 2 days ahead of serving.
What if my cake cracks when I roll it? Don’t panic if you get a few small cracks! The filling will help hide them, and a dusting of powdered sugar works wonders to camouflage any imperfections. Rolling while the cake is still warm really helps prevent major cracking.
Can I freeze this dessert? Yes, you can freeze the completed Red Velvet Cheesecake Roll for up to one month. Wrap it tightly in plastic wrap and then aluminum foil. Thaw it overnight in the refrigerator before serving for best results.
How do I get the red color just right? The amount of food coloring can vary by brand, so start with one tablespoon and add more if needed. Gel food coloring typically gives better, more vibrant results than liquid coloring without affecting the batter’s consistency.
Why This Recipe Will Win Your Heart
This Red Velvet Cheesecake Roll truly combines the best of both worlds in one spectacular dessert! The tender, cocoa-kissed cake paired with that dreamy cheesecake filling creates such a perfect balance of flavors and textures. Plus, it looks absolutely gorgeous on any dessert table and always gets people asking for the recipe.
My Recipe Development Journey
I’ll be honest, my first attempt at this Red Velvet Cheesecake Roll was a bit of a disaster! The cake cracked terribly because I let it cool too much before rolling. However, after some trial and error, I discovered that rolling it while warm was the game-changer. Now it’s become my go-to impressive dessert that never fails to wow guests at dinner parties.