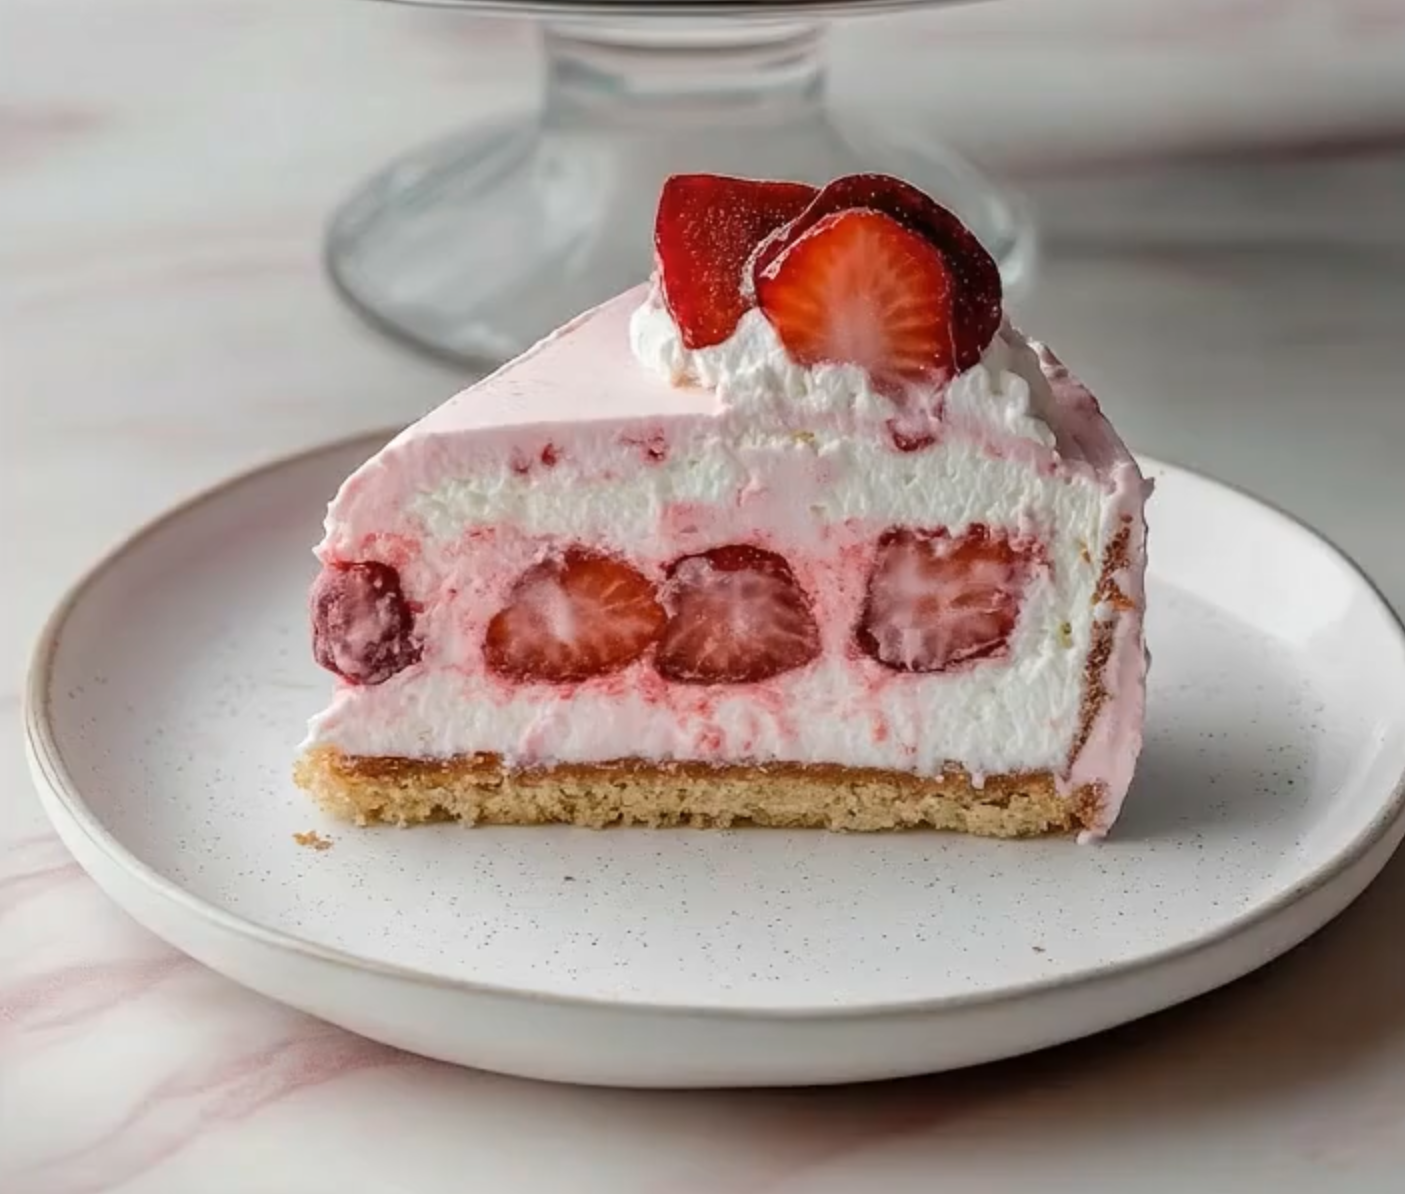
Strawberry Cloud Cheesecake has completely stolen my heart, and honestly, I think it might become your new obsession too! There’s something absolutely magical about this no-bake dessert that combines the creamy richness of traditional cheesecake with the light, airy texture of a cloud. Moreover, the fresh strawberry flavor makes it perfect for any occasion when you want something that tastes like pure sunshine.
What Is Strawberry Cloud Cheesecake?
Picture this: a dreamy, no-bake cheesecake that’s lighter than air but still incredibly satisfying. Furthermore, this strawberry cloud dessert combines the best of both worlds with its fluffy cream layers and bursts of fresh berry goodness. Instead of the dense texture you might expect, this creamy strawberry dessert practically melts in your mouth while delivering all those classic cheesecake flavors you crave.
What You’ll Need for This Dreamy Dessert
The beauty of this Strawberry Cloud Cheesecake lies in its simple ingredients that create something truly spectacular. Additionally, most of these items are probably already waiting in your kitchen right now.
For the Crust:
- Crushed digestive biscuits or graham crackers (2 cups) – The foundation of any great cheesecake. You can substitute with vanilla wafers or even crushed Oreos if you’re feeling adventurous.
- Melted unsalted butter (½ cup) – This binds everything together perfectly. Salted butter works too, just reduce any additional salt in the recipe.
- Granulated sugar (2 tablespoons) – Adds just a touch of sweetness to balance the buttery crust.
For the Cheesecake Filling:
- Cream cheese, softened (400g) – The star of any cheesecake recipe. Make sure it’s completely room temperature for the smoothest texture.
- Powdered sugar (1 cup) – Creates that silky smooth consistency without any grittiness. Regular sugar won’t give you the same results.
- Vanilla extract (1 teaspoon) – Pure vanilla extract makes all the difference, though imitation will work in a pinch.
- Cold heavy whipping cream (1½ cups) – This creates the “cloud” effect we’re after. Don’t use light cream or it won’t whip properly.
- Fresh strawberries, finely chopped (1 cup) – The fresher, the better! Frozen strawberries will work but drain them thoroughly first.
- Strawberry puree (½ cup) – Blend fresh or frozen strawberries until smooth. This gives your Strawberry Cloud Cheesecake that gorgeous pink color.
For the Strawberry Layer:
- Fresh strawberries, halved (1 cup) – These create beautiful layers and add texture throughout each slice.
For the Topping:
- Whipped cream (½ cup) – Store-bought works perfectly, or whip your own for extra freshness.
- Whole fresh strawberries for garnish – The final touch that makes this dessert absolutely Instagram-worthy.
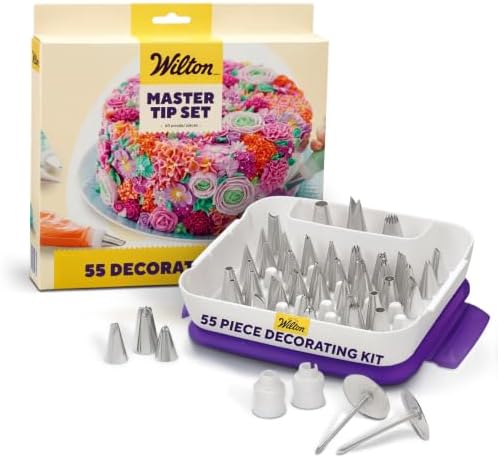
- Starter Piping Set: The Master Cake Decorating Piping Tips set comes with an assortment of round, star, petal, leaf, and…
- Complete Decorating Set: The Master Cake Decorating Piping Tips Set is for DIY cake, cupcake, and cookie decorating
- Cake Art Tools: This classic cupcake decorating kit comes with stainless steel tips that work with both buttercream fros…
Step-by-Step Instructions
Making this Strawberry Cloud Cheesecake is surprisingly straightforward, and honestly, that’s part of what makes it so perfect for entertaining. Let me walk you through each step so you’ll feel completely confident creating this masterpiece.
Prepare the Crust: First, mix your crushed biscuits, sugar, and melted butter in a large bowl until the mixture looks like wet sand. Then, press this mixture firmly into the base of a 9-inch springform pan. I always use the bottom of a measuring cup to get it really even and compact. Next, pop it in the fridge for 20 minutes until it’s completely set.
Create the Filling: Meanwhile, beat the softened cream cheese, powdered sugar, and vanilla extract until the mixture becomes smooth and creamy. In a separate bowl, whip the cold cream to soft peaks. This is where the magic happens! Gently fold the whipped cream into the cream cheese mixture to keep it light and airy. Finally, stir in the chopped strawberries and strawberry puree for that natural pink color and fresh flavor.
Layer and Assemble: Now comes the fun part! Spread half of your fluffy filling over the chilled crust. Then, arrange the halved strawberries in a single layer, pressing them slightly into the cream. Cover with the remaining filling and smooth the top gently. The key is being patient and working slowly to maintain that cloud-like texture.
Chill and Finish: Refrigerate your Strawberry Cloud Cheesecake for at least 4 hours, though overnight is even better if you have the time. Before serving, pipe whipped cream around the edges and top with fresh whole strawberries for that beautiful, professional finish that’ll have everyone asking for your secret.
Perfect Pairing Ideas
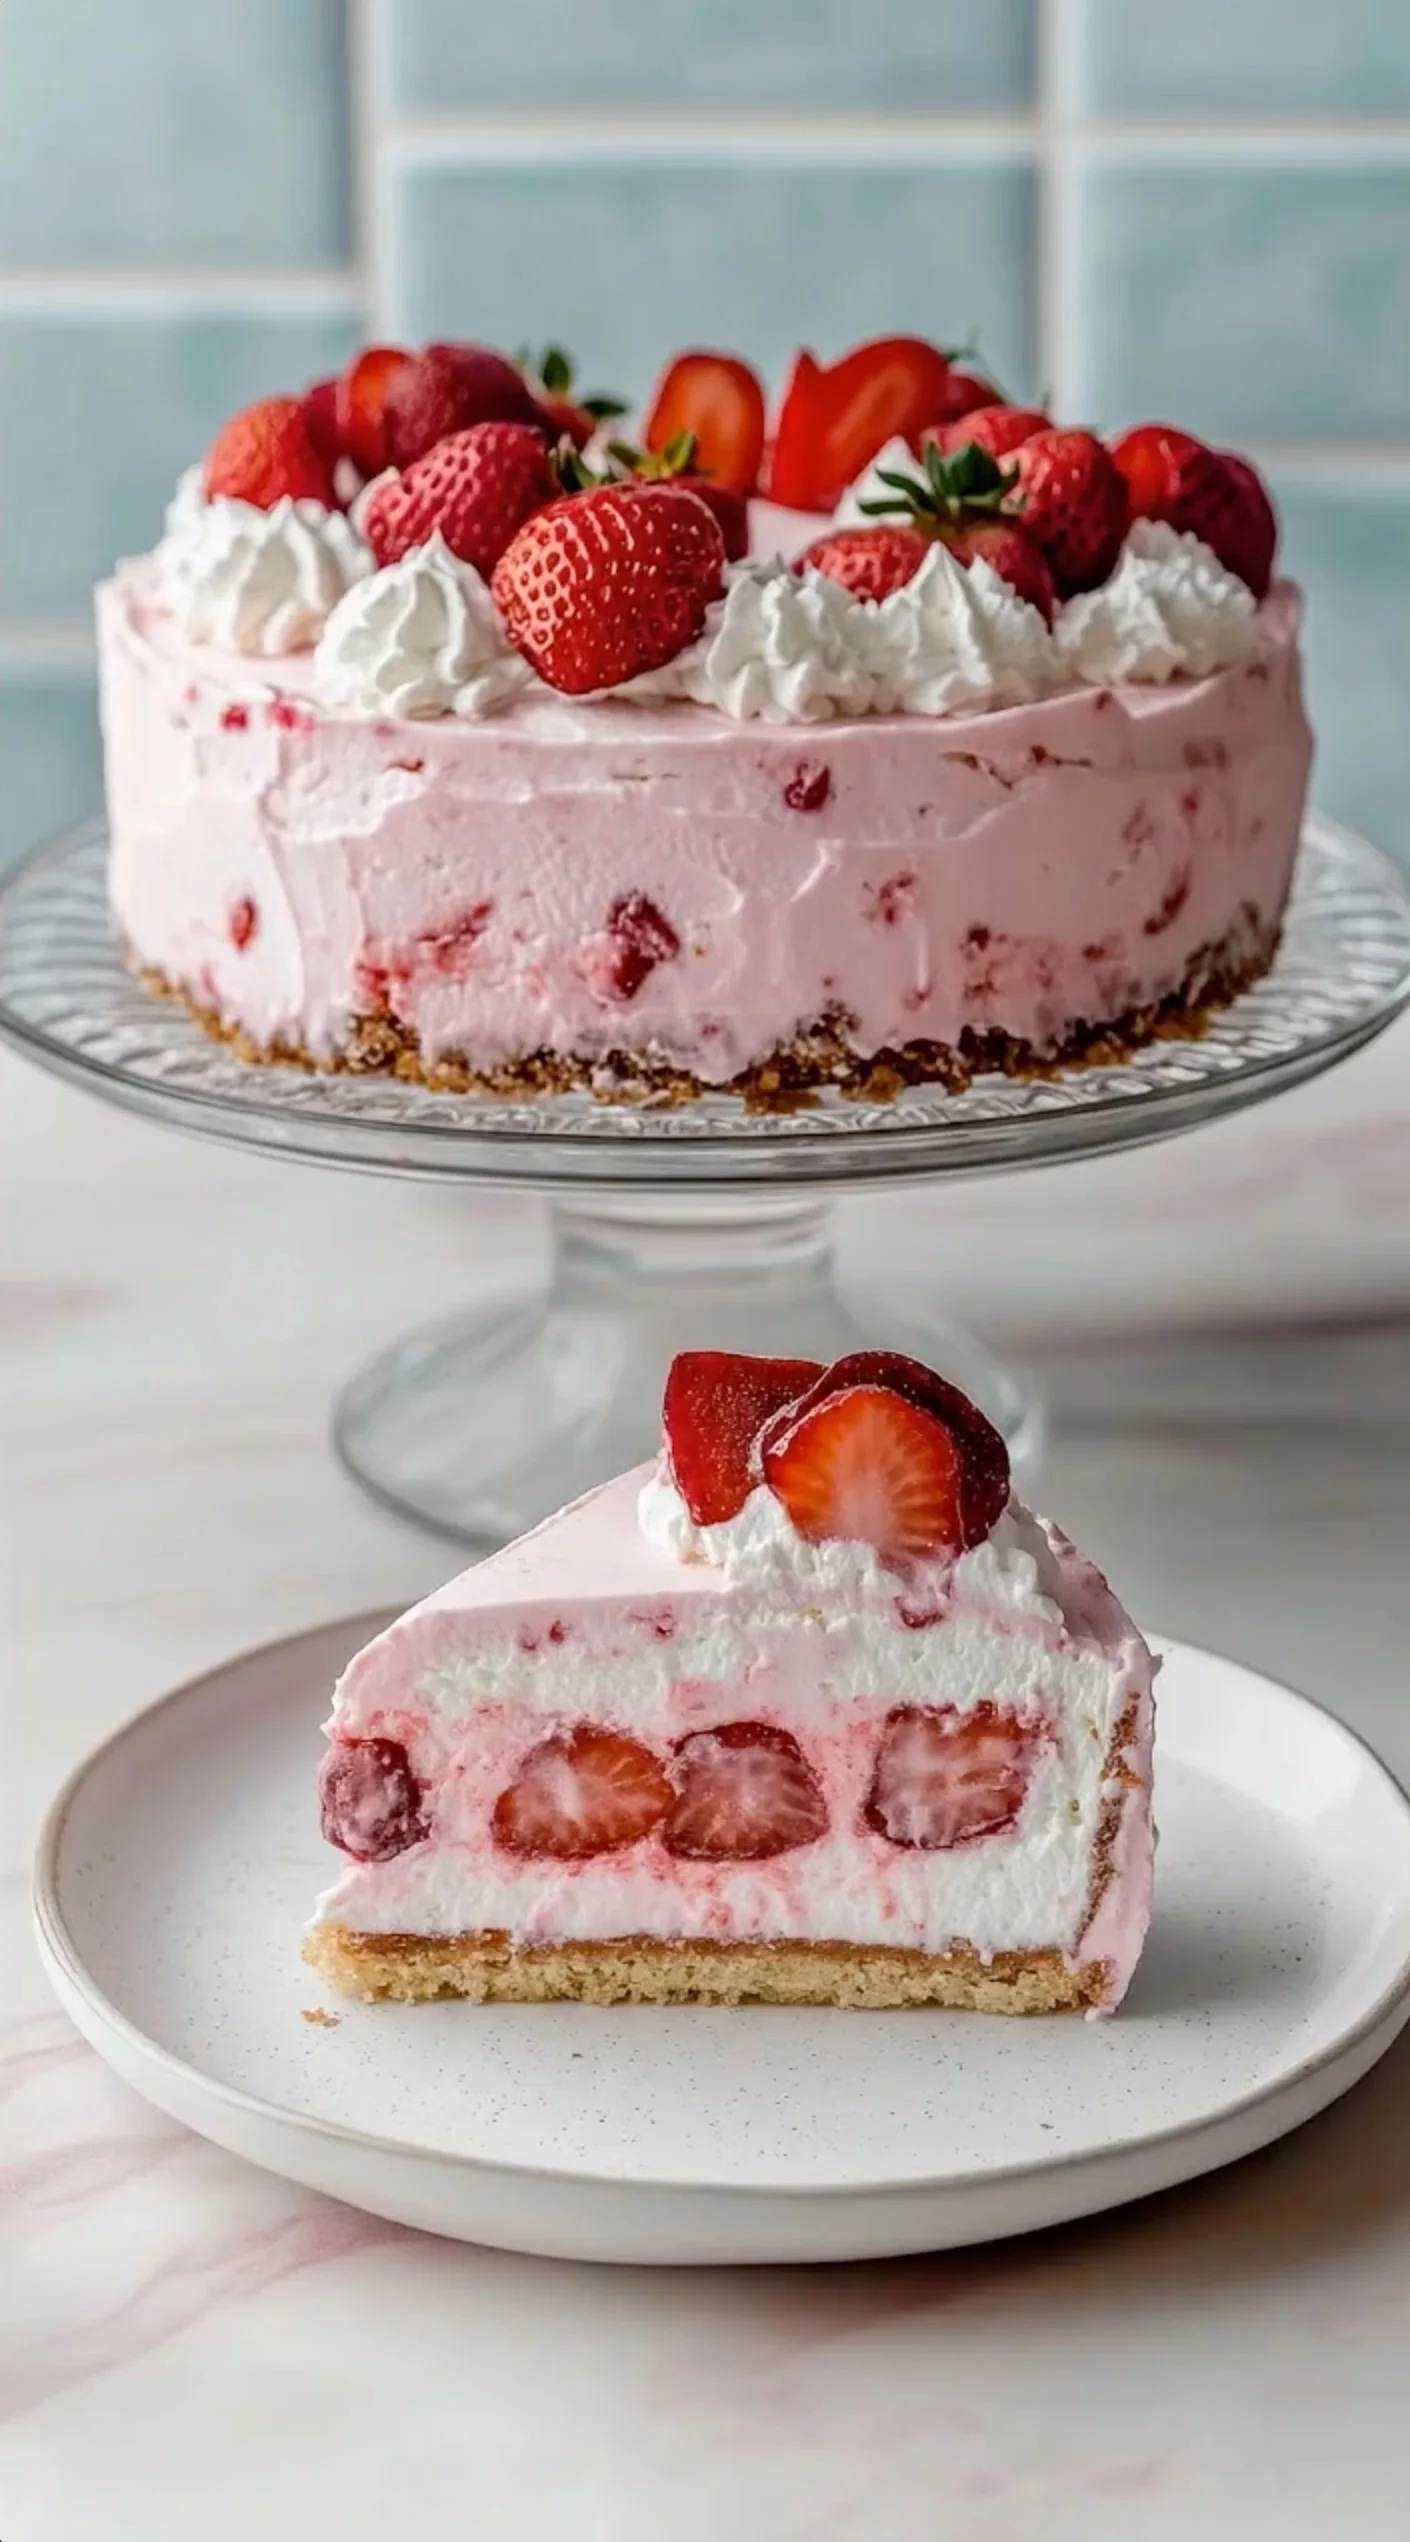
This Strawberry Cloud Cheesecake is absolutely divine on its own, but there are so many ways to make it even more special. I love serving it with a drizzle of chocolate sauce for those who want a little extra indulgence. Fresh mint leaves make a gorgeous garnish and add a lovely aromatic touch. For special occasions, try pairing individual slices with a glass of prosecco or sparkling water with lime.
Tips For The Perfect Strawberry Cloud Cheesecake
- Room temperature cream cheese is crucial – Cold cream cheese will create lumps that are nearly impossible to smooth out, no matter how long you beat it.
- Don’t overwhip your cream – Stop at soft peaks to maintain that cloud-like texture. Overwhipped cream will make your cheesecake dense instead of fluffy.
- Pat strawberries dry – Excess moisture can make your cheesecake watery, so gently pat fresh strawberries with paper towels before using them.
- Use a springform pan – This makes removing your finished cheesecake so much easier and gives you those clean, professional-looking sides.
- Chill overnight for best results – While 4 hours works, overnight chilling gives you the perfect texture and makes slicing much cleaner.
- Warm your knife – Run your knife under warm water and wipe clean between cuts for picture-perfect slices every time.
Your Questions Answered
Can I make this Strawberry Cloud Cheesecake ahead of time? Absolutely! In fact, this dessert gets better with time. You can make it up to 2 days in advance and keep it covered in the refrigerator. Just add the final whipped cream and strawberry garnish right before serving.
What if I can’t find fresh strawberries? Frozen strawberries work perfectly fine! Just make sure to thaw them completely and drain any excess liquid. The flavor will be just as delicious, though the texture might be slightly softer.
Can I substitute the cream cheese? While cream cheese gives the best results, you can try using mascarpone for an even richer flavor. Greek yogurt mixed with a bit of heavy cream can work for a lighter version, though the texture will be different.
How long does this cheesecake keep? Your Strawberry Cloud Cheesecake will stay fresh in the refrigerator for up to 5 days when properly covered. However, it’s best enjoyed within the first 3 days for optimal texture and flavor.
Why This Recipe Will Become Your Go-To
Honestly, this Strawberry Cloud Cheesecake hits every single note perfectly. It’s impressive enough for special occasions but simple enough for a random Tuesday when you’re craving something sweet. Plus, the no-bake aspect means you won’t heat up your kitchen during those warm summer months. The combination of creamy texture, fresh strawberry flavor, and that gorgeous presentation makes it absolutely irresistible to both kids and adults alike.
My Recipe Development Journey
I’ll be completely honest with you – my first attempt at this Strawberry Cloud Cheesecake was a bit of a disaster! I got impatient and used cold cream cheese, which created the lumpiest mixture you’ve ever seen. After that learning experience, I discovered that patience really is key with this recipe. The second time around, everything came together like a dream, and I knew I had something special. Now it’s become my signature dessert that friends literally request by name!